
 |
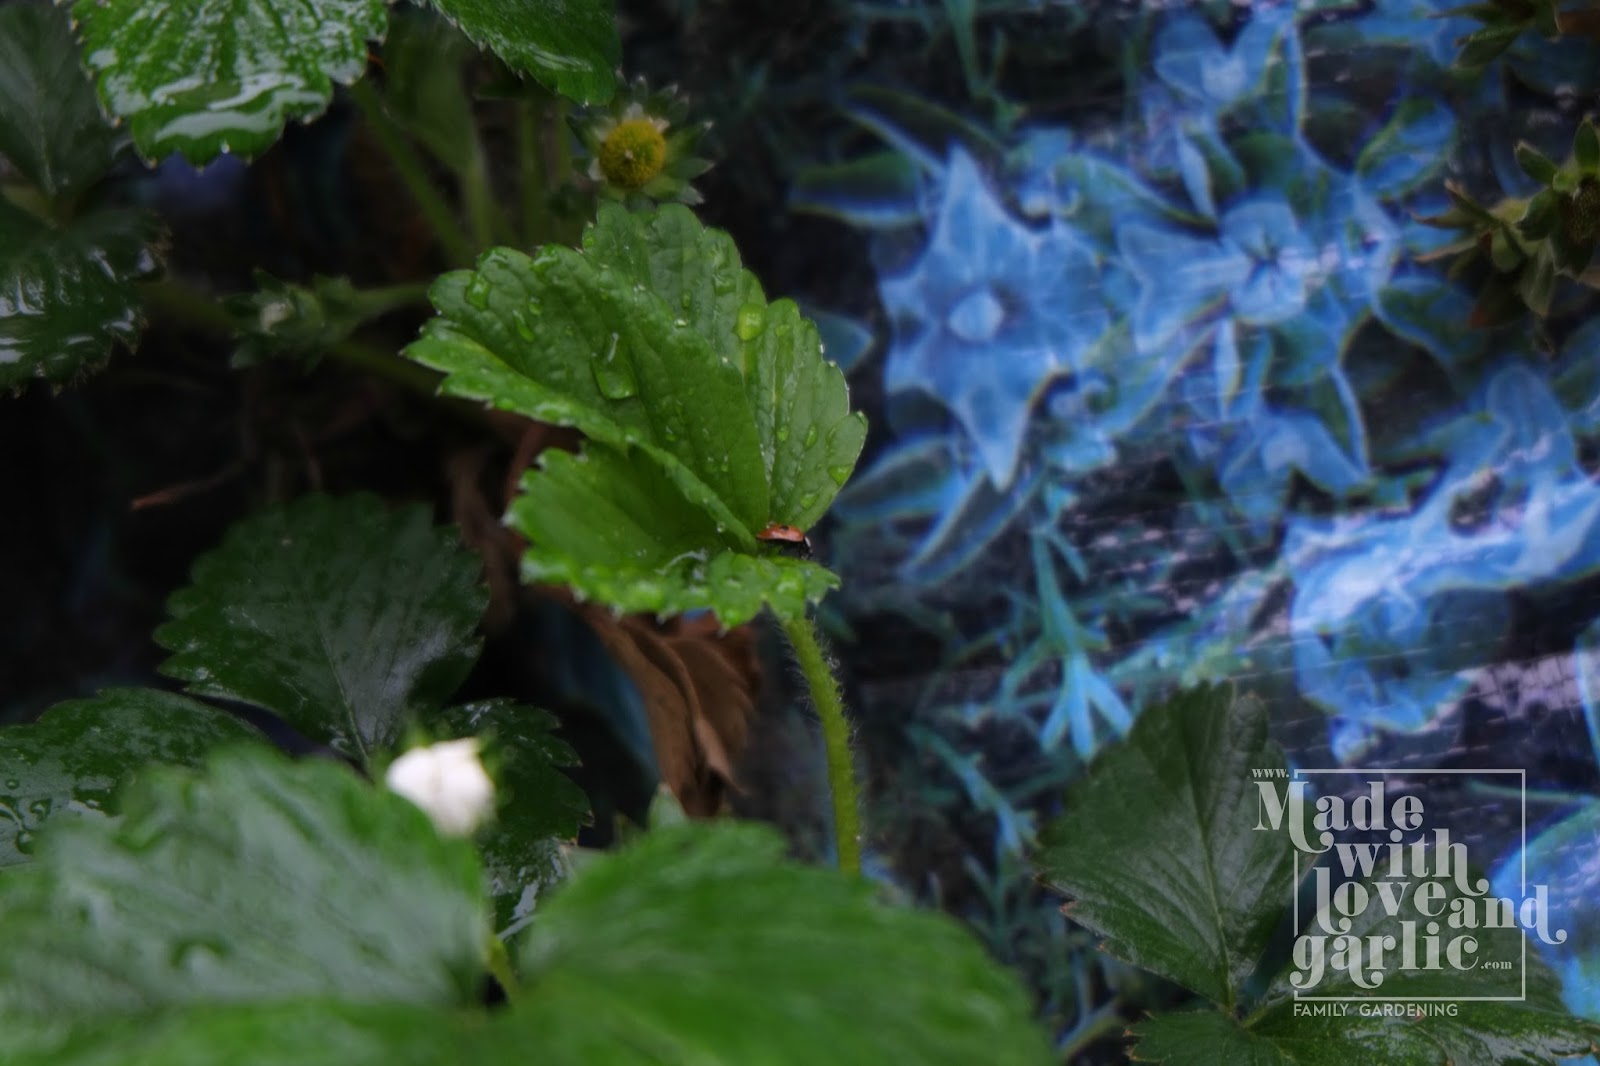
| Ladybird in situ |
The day the aphids came back was a dark one. There they were, hordes of them swarming and pulsating all over my innocent strawberries and mint. I was beside myself in rage and frustration at their sheer numbers (previously I’ve always pulled aphids off by hand before their populations reach critical levels) as it was clearly too late for me to get rid of them alone. And then lo, out of the house wandered my husband, a king amongst men, who announced that he’d bough me a present of ladybirds. That’s right, 100 live ladybirds were winging their way (hah!) towards me, along with a couple of ladybirds houses that I could apparently try to bride them to stay with. Two year old GarlicBoy was thrilled at the idea of a couple of boxes of insect “pets” and chattered happily all the way home from the post office about them. This is one project that I can heartily recommend that you do with a toddler or small child. It benefits your garden, teaches your child about insects and the food chain and encourages wildlife to flourish in your immediate area. And children find them charming!
 |
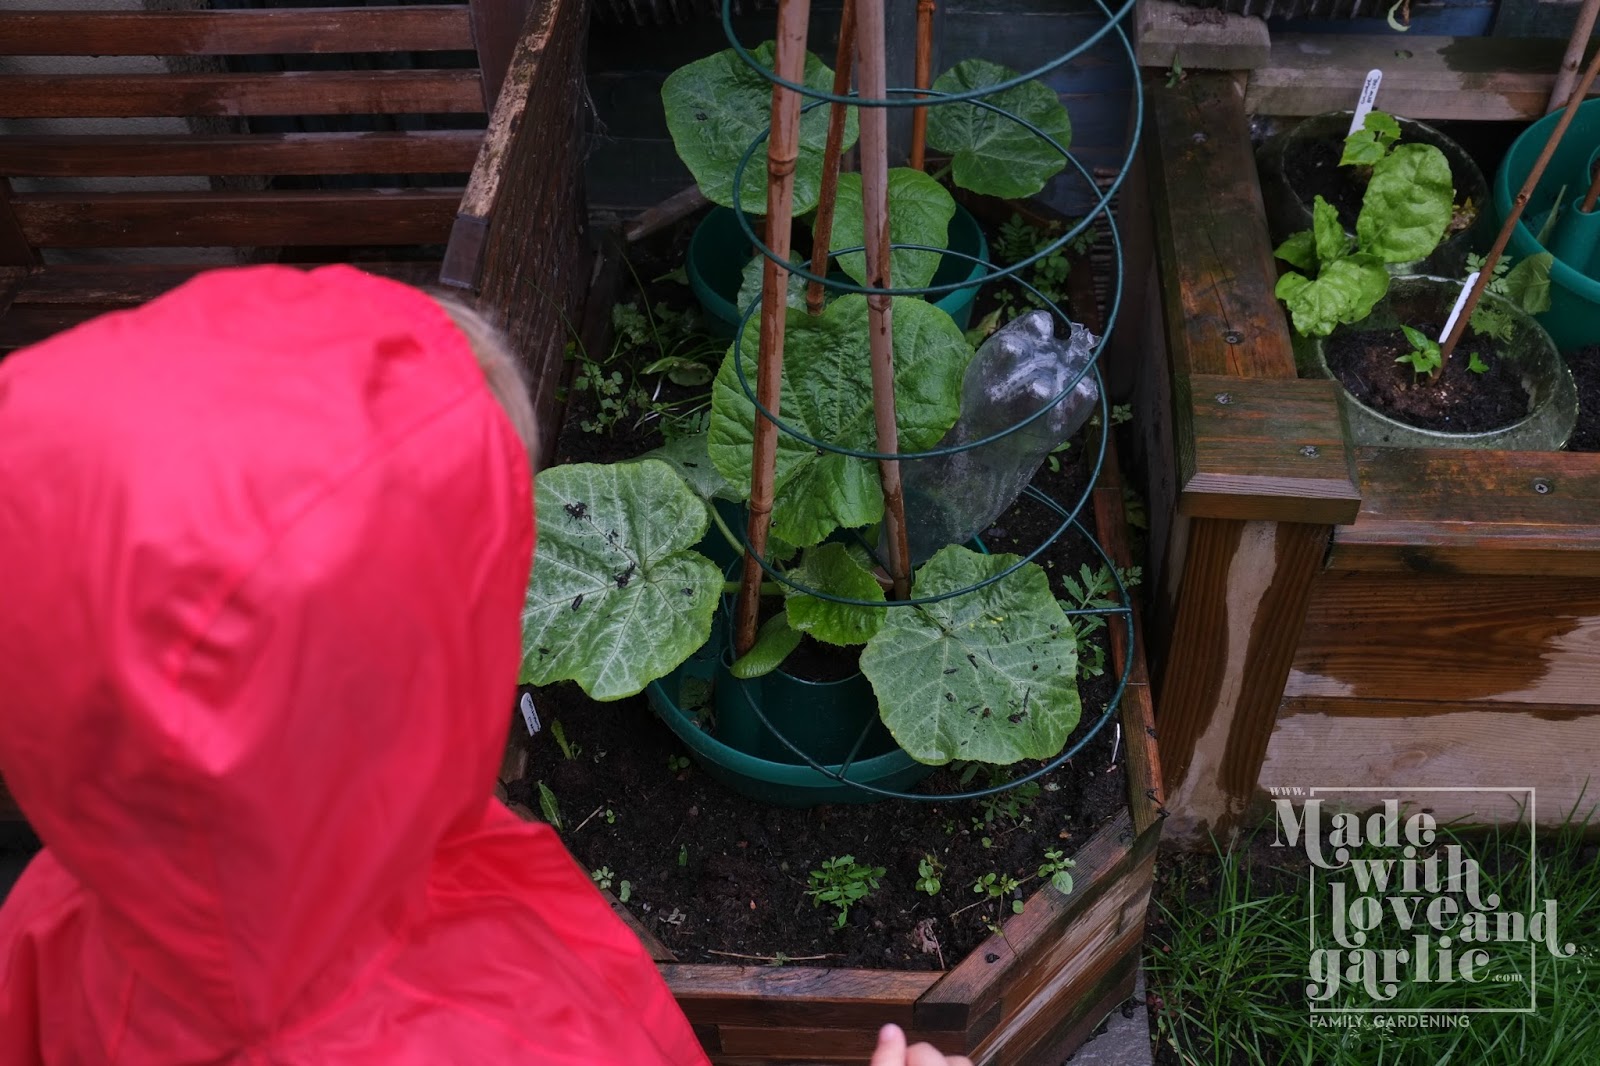
| Ladybird house positioned near at-risk plants |
You will need:
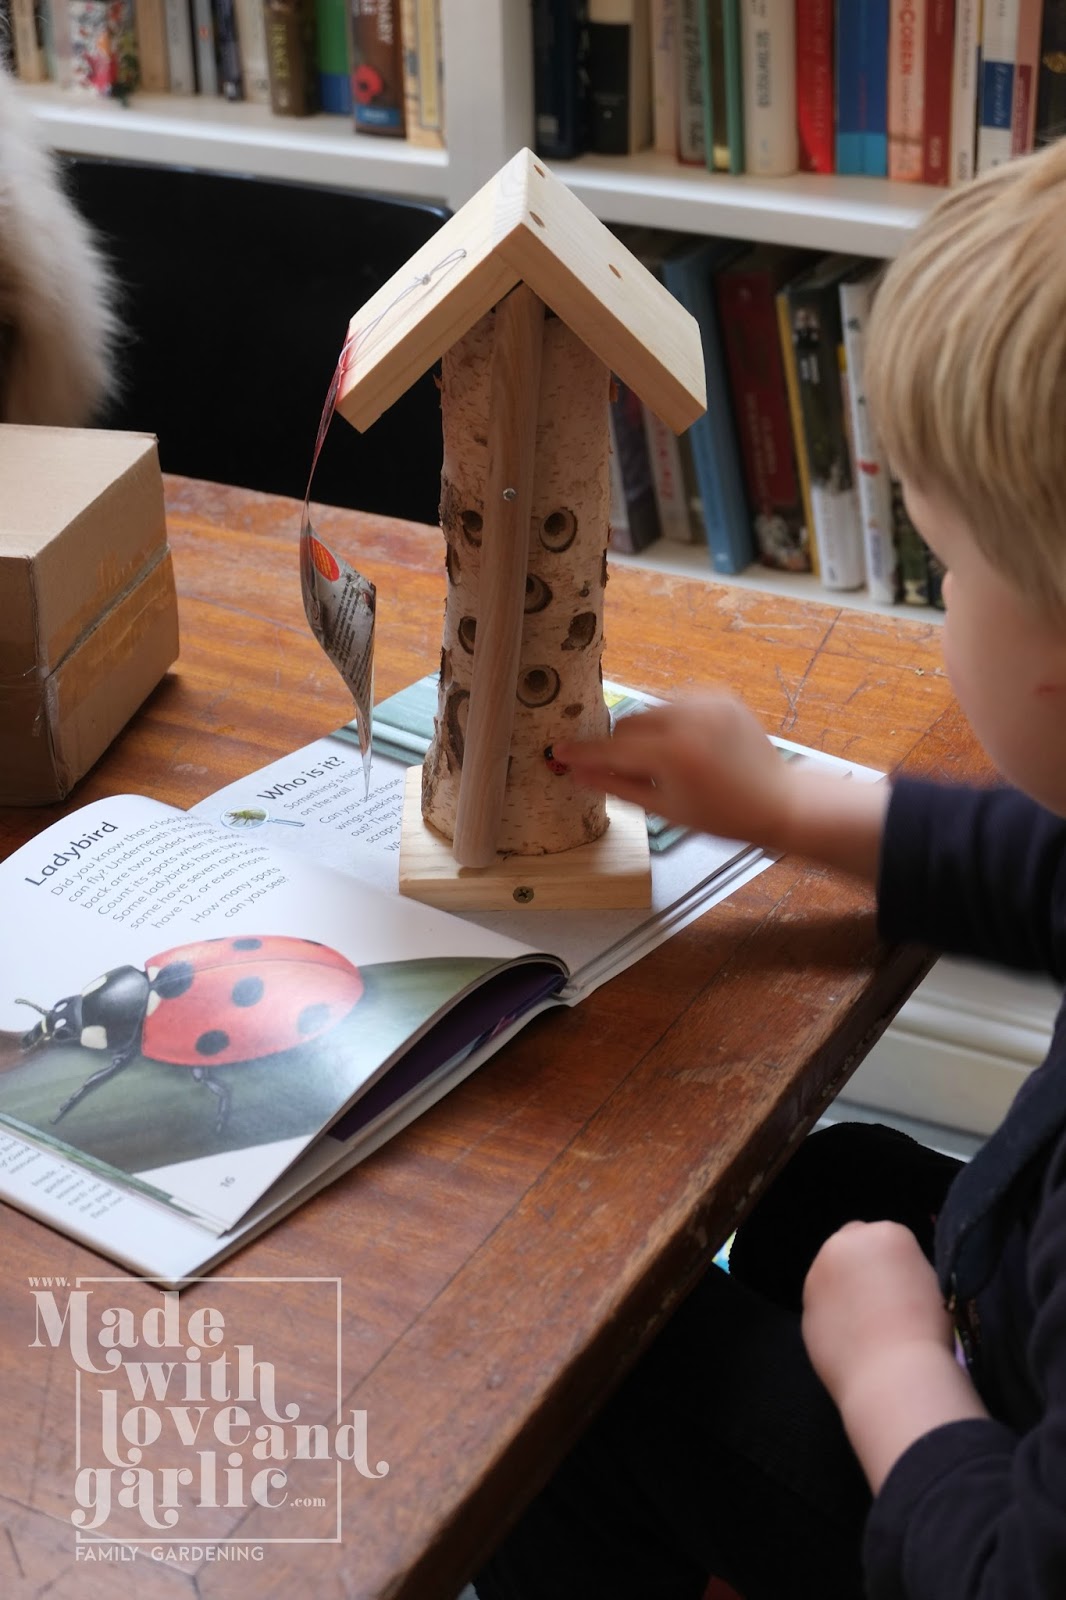 |
| Learning about ladybirds |
– A book about wildlife / access to the web (the RSPB has quite a nice fact sheet on ladybirds)
– Some ladybirds (as it’s May, we bought ours online as fully grown adults and they arrived in the post which was both cool and surreal)
– A fridge
– Plants, ideally covered in greenfly, blackly or aphids
– A water source outside where you’re going to release them
As always I’ve used the directions [ADULT] and [CHILD] based on what I did with my son. However you know your child best so please think about their own capabilities before embarking on any of our projects. Never leave a child unsupervised. And please do tag us on social media if you post photos of your projects, we’d love to see how you get on!
Directions:
[Before they arrive]: Make a point of reading about ladybirds and looking at pictures so your child knows what they are
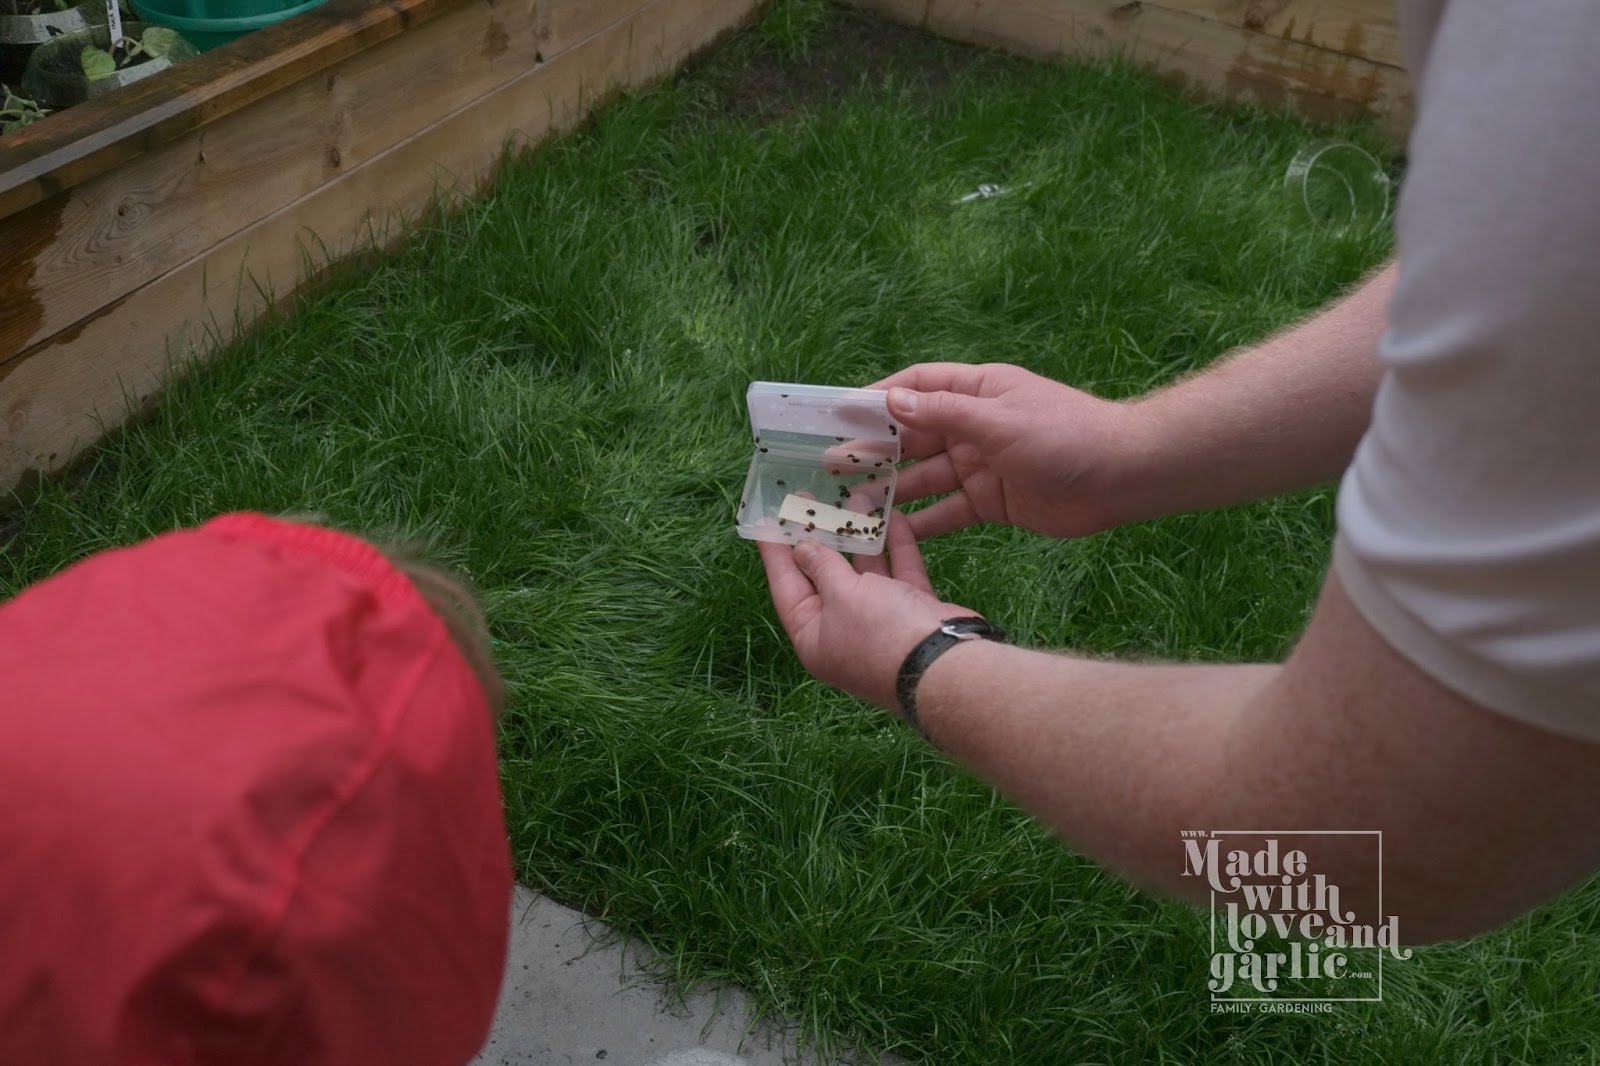
1. When your ladybirds arrive handle the box very carefully. They’ll look dead but will soon perk up once released. [ADULT] Place them in the fridge in a padded envelope for about half an hour to calm them down after their journey.
2. It was pouring with rain when we released ours so we didn’t need to worry about water but if it’s dry, they’ll be parched so [BOTH] put some water on the leaves of the plant you’re releasing them onto so they have something to drink.
3. Early evening / dusk is the best time to release them so that they have time to bond to your garden and decide it’s a good place to stay rather than buzzing off to find more food in the morning.
 4. [ADULT] Open the box and gently pour the ladybirds on to the plant that you’ve chosen for them. You’ll find that they perk up quite quickly and start wandering about hoovering up horrible bugs. Older children might be able to do this if they can be gentle.
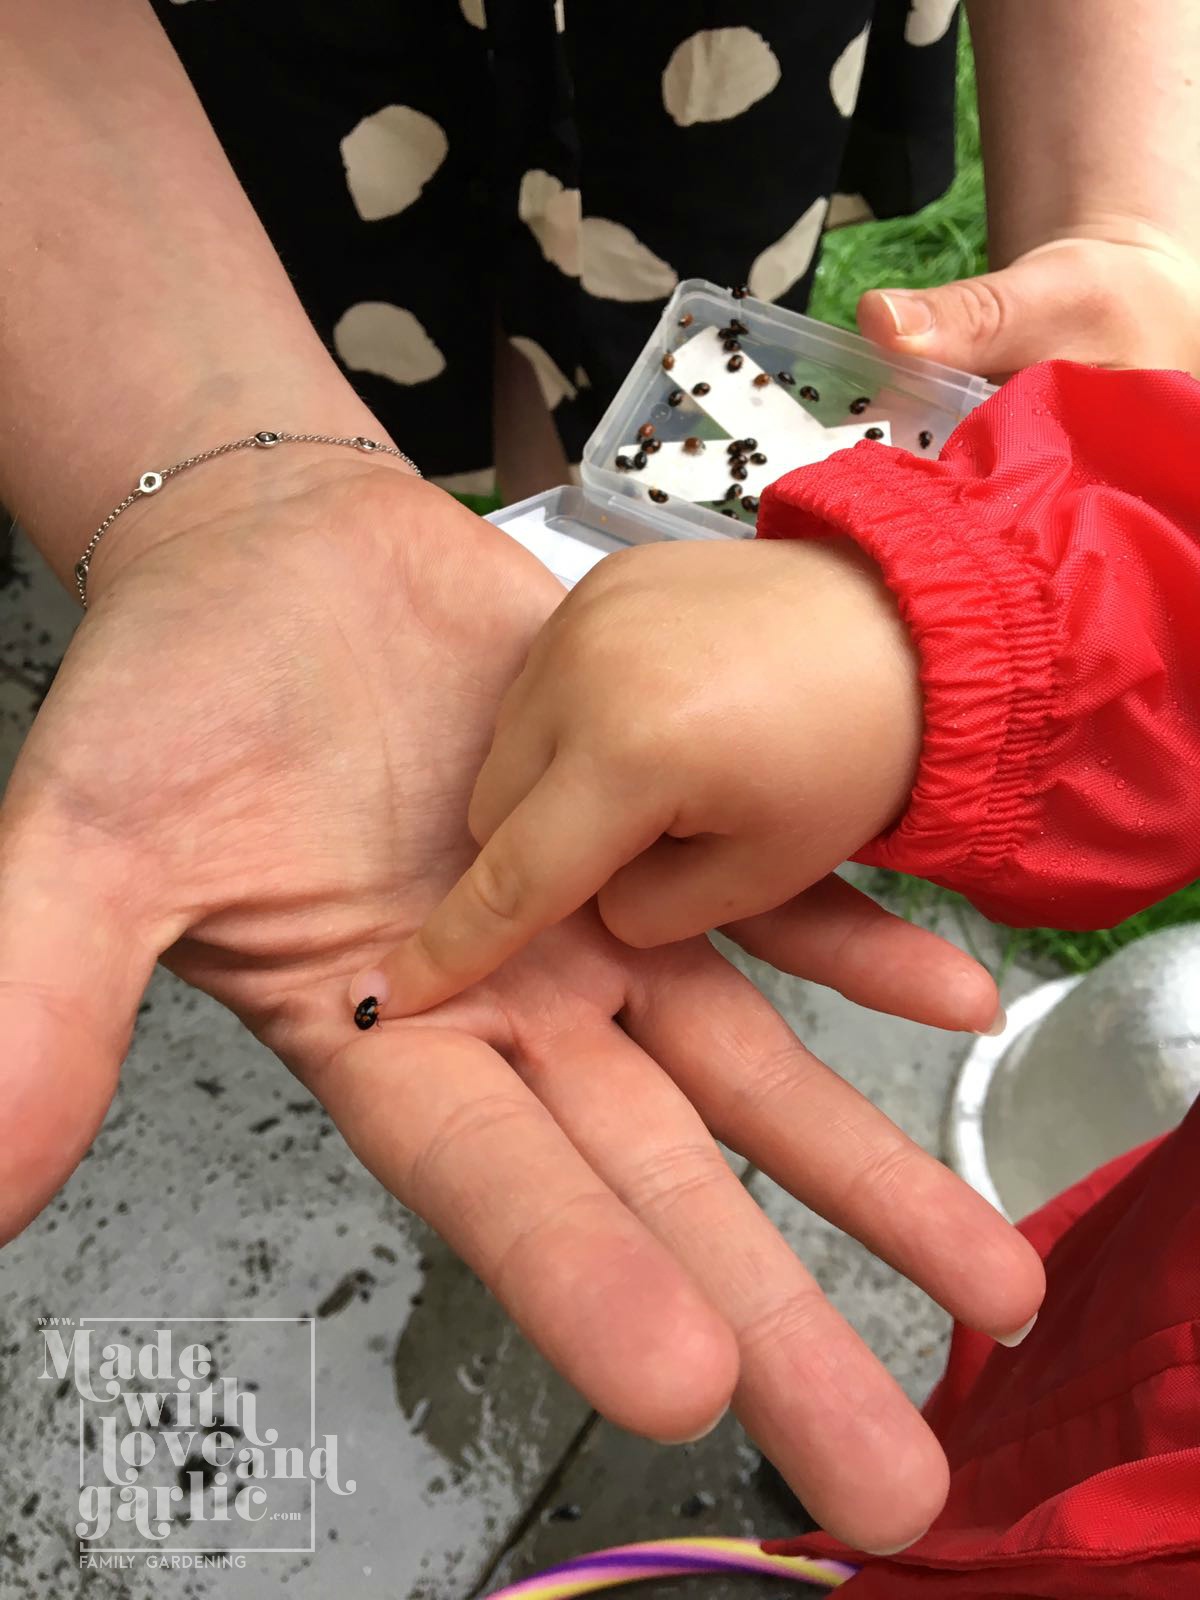
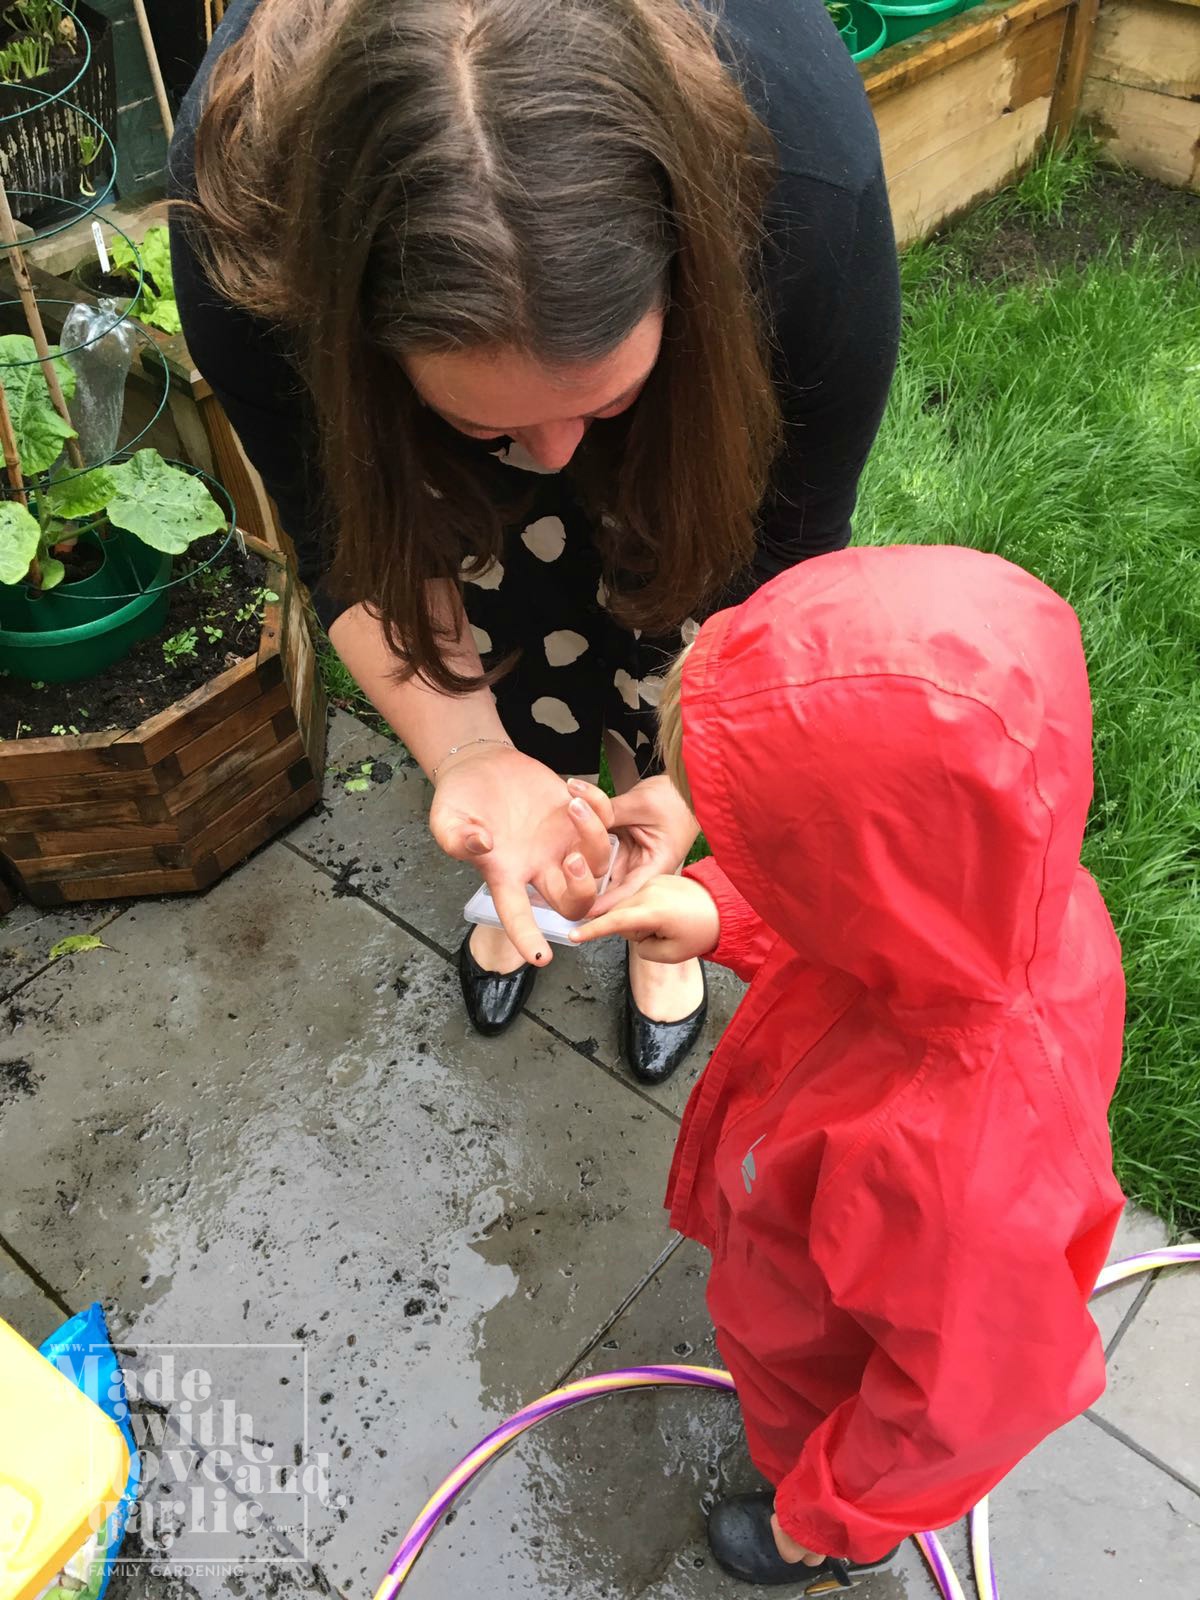
5. [ADULT] Retain one small ladybird and encourage it to walk onto your finger (by placing your finger in front of it as a ramp – they’re fragile so don’t try to pick them up with your fingers as you will damage their wings). Allow your child to look at them up close and have them walk on their fingers if they like, reiterating that they mustn’t stroke or touch the little creatures.
 |
| Looking for ladybirds |
6. [BOTH] Help your child to release the ladybird onto the plant and watch it scurry about. You can then look for ladybirds for the next few days (99 of ours appear to have left us, the ingrates, but we have one solitary remainder!) and talk about what they’re doing and how they’re providing pest control.


One thought on “How to release ladybirds with a toddler”