
 One of the biggest problems with having such a tiny city garden is that you can’t fit in lots of plants. This isn’t a problem in itself as most plants, especially berry bushes, will crop quite heavily over the growing season. However, if you find yourself (as I do) in the first year of your garden, with immature berry bushes that are fruiting sporadically, what are you to do? Eat the berries two or three at a time as they ripen? Or save them in the freezer until I have enough for cooking?
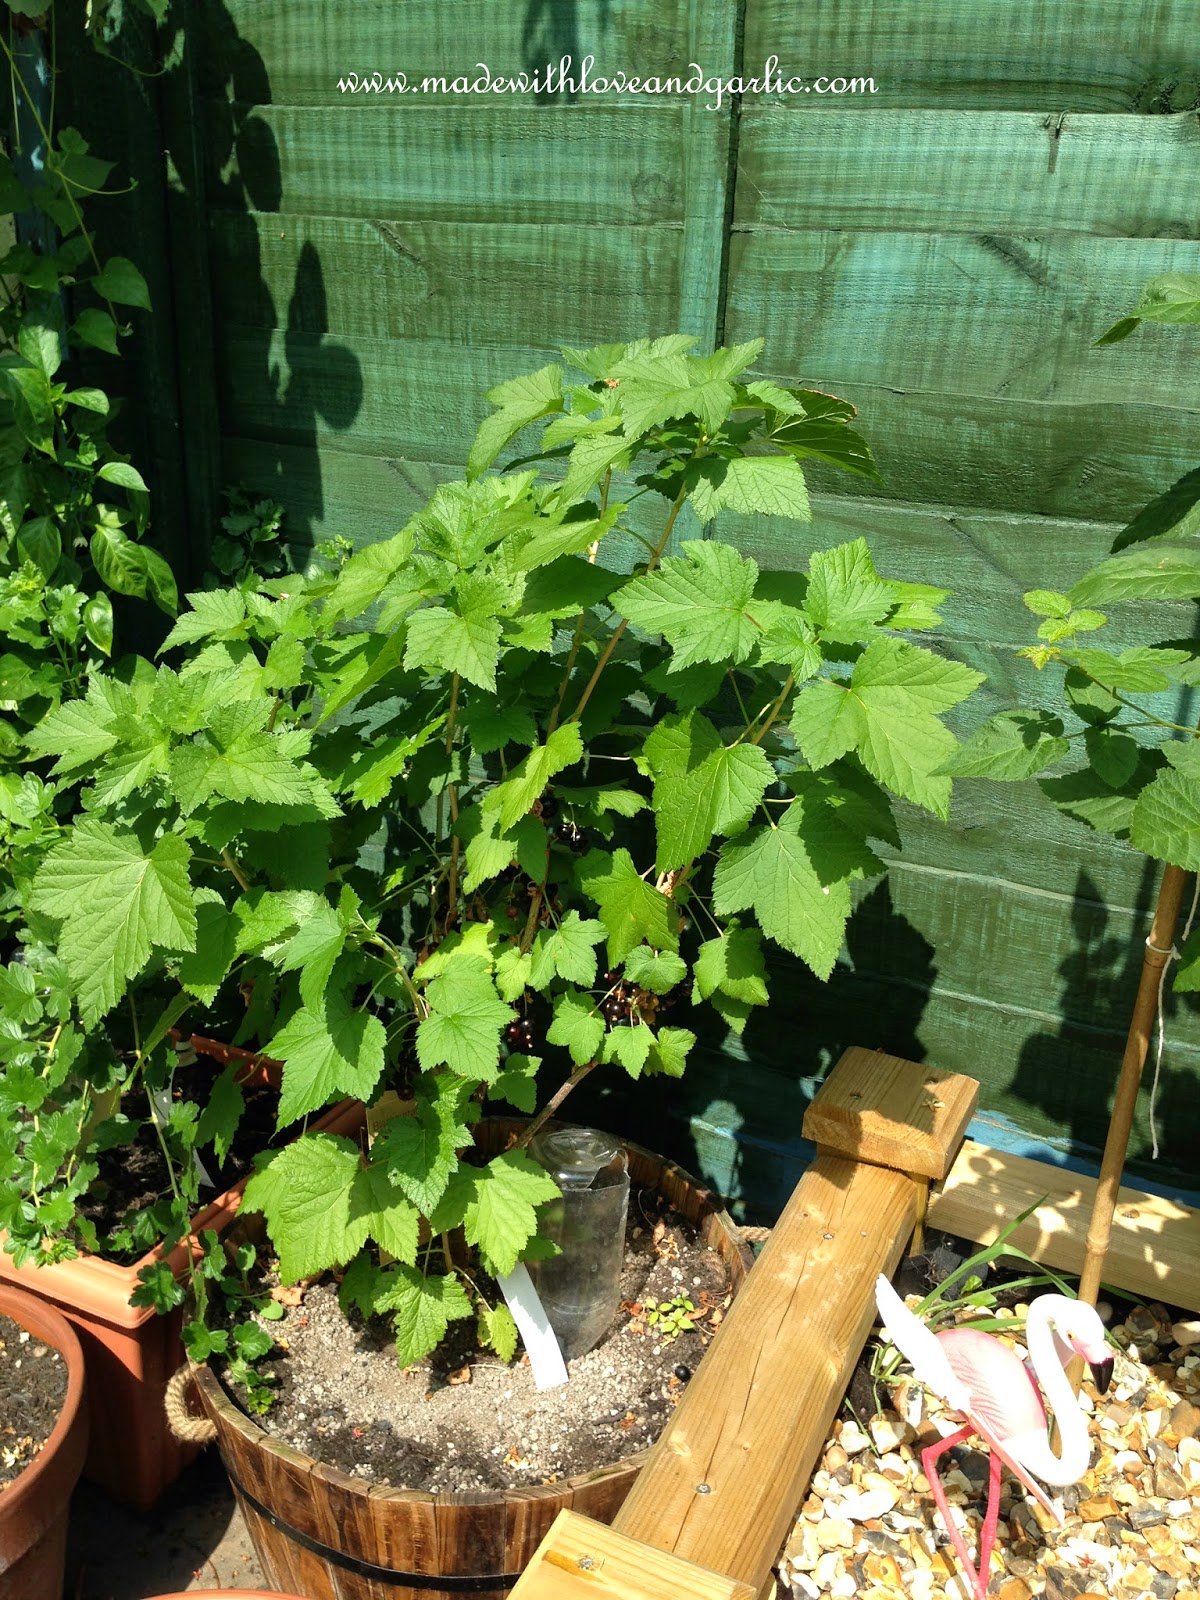
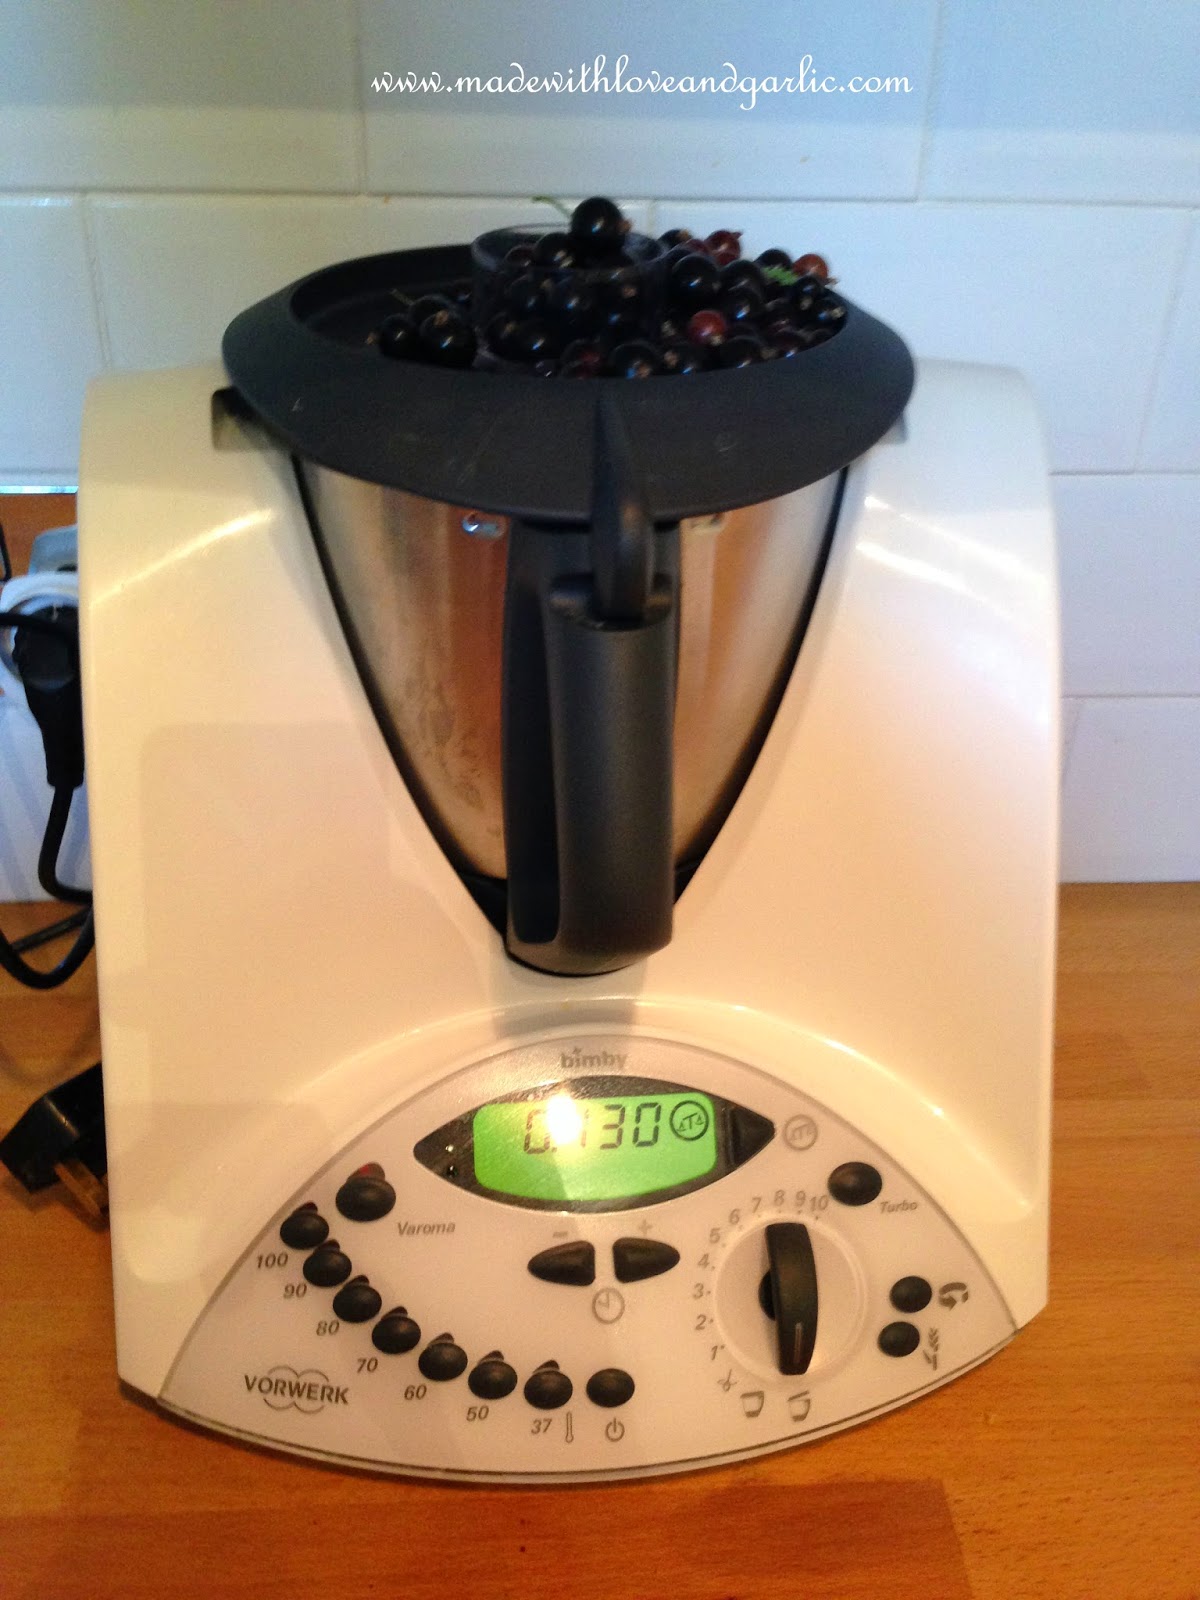
I chose the latter. I was enormously excited to see some of the beautiful blackcurrants on my Ben Connan Blackcurrant bush. They were enormous and beautifully black and shiny and just begging to be picked. I was also pleased that once I started picking them, there appeared to be many more than I’d originally though hiding under the large leaves. I managed to harvest an initial yield of 130g. Small fry for now, especially considering that I can apparently expect about 3.5kg a year (about seven pounds) as of next summer, but still, more than enough to make me happy as the bush should keep cropping for a good month or so this year and hopefully I’ll be able to add to the bag of frozen berries I’ll have in the freezer until I have enough for a pie or, if the weather is still good, homemade ice lollies.
So here’s a quick “How To Freeze Fresh Berries” guide that will help you store your harvest without it all clumping together:
 |
| Under-ripe berries/blackcurrants should be left |
1. Harvest your blackcurrants. Make sure that you only take the juciest and ripest berries. Leave anything else on the plant to flesh out and darken properly.
2. Cover a baking sheet with greaseproof paper and (without washing them) spread the berries out evenly across the surface. Carefully place the tray into the freezer for four hours, making sure that the berries still aren’t touching.
3. After four hours, decant the berries from the tray into a ziploc or vacum-packed bag. Label with the contents and date and leave in the freezer to have new berries added to it each time a load ripen.
4. Bear in mind that once you defrost the berries they might look a bit wrinkly or deflated – but the flavour will be just as wonderful as ever. This is a good technique to use when you’re looking to cook the blackcurrants, but if you want them to look pristine (for example, on top of a cheesecake), then you might want to wait a year until you can harvest all that you need all at once.
Enjoy!

